Chocolate Tempering: What the Heck It Is and How to Do It
Chocolate tempering. Ever heard of it? If yes, congratulate yourself for knowing this fairly obscure term. If no, give yourself a pass — you’re in good company.
Chocolate tempering is central to the art of making fine chocolate. It’s a term and a process we, as chocolatiers, use every day, so it surprises me that most people I talk to have never heard of it. Then again, maybe it shouldn’t surprise me. I’m sure I don’t know plenty of words that painters use in their art, or sculptors, or baseball players, or electricians.
Art and Science
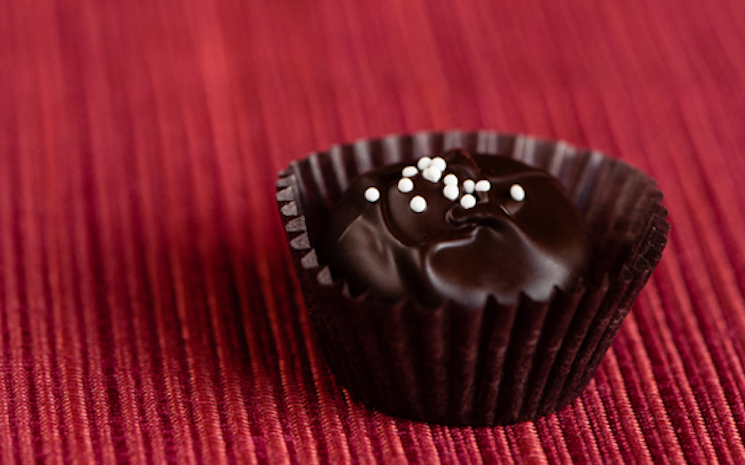
Chocolate tempering is art — it’s about making the chocolate look pretty and shiny — and it’s science. It’s the process of bringing chocolate to the right temperature so that it can be used for molding or enrobing (for dipping truffles or strawberries, for example) that will result in a beautiful and delicious product. To get science-y, tempering forces the crystals in the chocolate to align. This alignment, or crystallization, creates chocolate that is crisp, uniform in color, and has a satisfying snap to it, also called “mouth feel.” In short, tempering is what makes chocolate look and taste good.

Untempered, or badly tempered chocolate, can happen. It can happen easily, which is why we’re so vigilant to avoid it. With badly tempered chocolate, you get the opposite of pretty and shiny: Poorly tempered chocolate is streaky, cloudy, and can be thick or gummy. And it can happen by simply not paying attention. Have you ever left a Kind bar or a Hershey bar (heaven forbid) in your backpack? Chances are it has melted at some point and then firmed up again as conditions changed. When you opened the wrapper, the chocolate looked streaky. When you bit into it, it was mushy. That’s chocolate that’s no longer tempered. Even then, badly tempered chocolate can still taste pretty good – it’s chocolate! It’s still perfectly edible, it just won’t have quite the same snap or satisfaction to it.
The Process of Tempering
We temper chocolate every day. We do this to enrobe, or cover, our truffles, caramels, and buttercreams. We also temper chocolate to make “molded” items, such as our pumpkins in the fall, little snowmen in the winter, and Easter bunnies in the spring. There are various ways of tempering chocolate, but here are the basic steps:
- Melt the chocolate to 105°F.
- Let the chocolate cool to 88°F (that temperature is for dark chocolate, more on milk and white chocolate below).
- Keep the chocolate moving (stirring works).
How to Temper Chocolate
The Fancy Way
The most difficult way to temper chocolate is by using a marble or granite countertop or slab. You might see this on fancy cooking demonstrations or high-stakes TV chef contests. That’s when the melted chocolate is spread across the marble table and swept back and forth with hand-held metal scrapers. The cooling and the “stirring” brings the chocolate to the correct temperature briefly so that, as mentioned above, the crystals align, and it’s ready for a cake frosting or a sculptural centerpiece. This method is dramatic and it works, but who has a big marble slab at home to work with? So, let’s move on to more practical ways of tempering.
At Home
To temper chocolate at home, melt the chocolate in a Pyrex bowl or large measuring cup to 105°F, using either a microwave or double boiler. Once the chocolate is at the high point, add in “seed” or non-melted chocolate to bring the temperature down to 88° (again, this temperature is for dark chocolate). You’ll need a candy thermometer on-hand. Keep stirring the chocolate slowly, checking the thermometer to see when the temperature nears 88°. The stirring and the cooling bring the crystals into alignment and presto, the chocolate is tempered. The challenge now is to keep the chocolate at the correct temperature while you dip your strawberries or truffles, pretzels or shortbread, so you may need to heat up and cool down (adding more “seed”) a few times while you’re working with the chocolate.
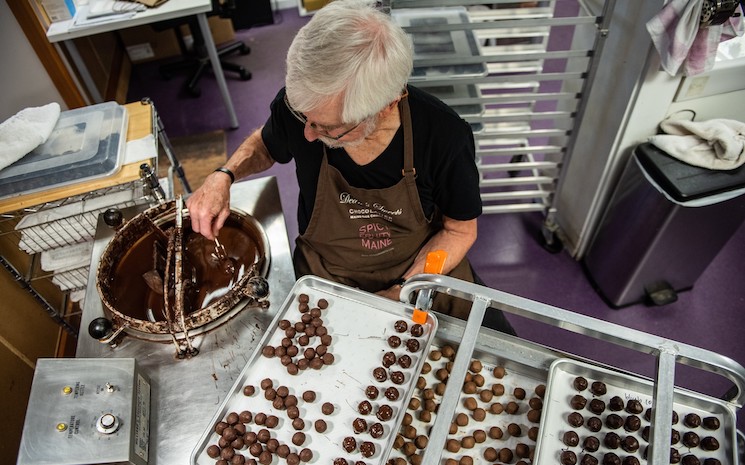
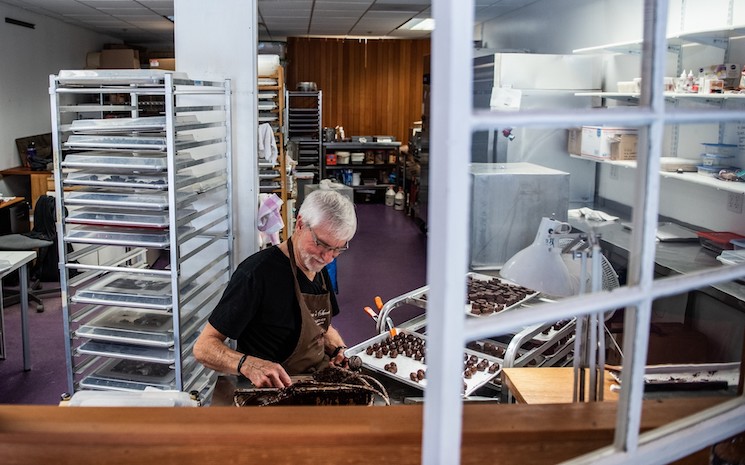
What We Do at Dean’s Sweets
We have tempering machines. A tempering machine is a rotating kettle with a heater to melt the chocolate and keep it moving, with a fixed baffle to separate the tempered chocolate from the untampered chocolate. We melt the chocolate overnight, and in the morning, we come into the kitchen and turn the temperature down and add seed. In 20-30 minutes, the chocolate is tempered. The kettle serves to keep the chocolate at the needed temperature. Our tempering machines, which we’ve had for well over a decade, can temper up to 240lbs per day. Just this summer, on a trip to Belgium, we purchased a new tempering machine that can temper 400lbs per day and dispense chocolate into molds at a precise measurement. For a chocolatier, this is exciting — a kin to the purchase of your first new car when you’re accustomed to driving old, but reliable clunky cars.
There are small tempering machines for home use that are not terribly expensive. You can check that out here.
Working Temperatures
- Dark chocolate – 88-90°F
- Milk chocolate – 84-86°F
- White chocolate – 82-84°F
Tips and Tools

- It’s easiest to work with chocolate chips when melting the chocolate. The small size of the chips helps to melt the chocolate more uniformly. If you’re using blocks of chocolate, best to break the blocks up into small piece nearing chip size if possible.
- Use a non-metal bowl, which will hold the temperature longer.
- Be careful never to get any water (or liquid in general) in the chocolate. Even a drop may cause the chocolate to “seize.” If dipping strawberries, for example, make sure they are fully dry before dipping them.
- A good-quality candy thermometer is key. Most cooking stores will have them, or you can order one here.
The Look and Feel
You’d think with our fancy-schmancy machines, we’d be able to set it (the temperature) and forget it, but it’s really not quite that foolproof. This is where the art comes back into play. A lot of working with chocolate is, after many years, by feel. That means we have a sense of when the chocolate is correctly tempered because it acts and looks a certain way. You can watch for the same qualities we do:
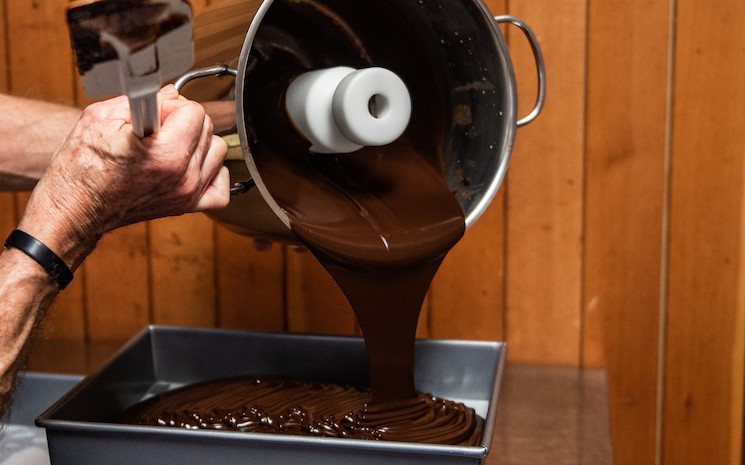
- The chocolate flows smoothly – not too bulky (too cool) or runny (too warm).
- The chocolate is shiny. As the temperature drops below tempering levels, the chocolate starts to look cloudy.
We work in temperature-controlled spaces, but even then, on days when it’s humid outside, it affects the chocolate in our kitchens. Some days in mid-summer, we know it will be more of a battle to keep the temps right. Some days, you have to make iced chocolate instead!
Did You Know?
- Glass, steel, and concrete are all tempered. I’m not going to say it’s the same process as with chocolate, but it still has to do with heating and cooling and crystallization. In all cases, the end result is a stronger substance.
- To have a temper (noun), according to Merriam-Webster, is to have “heat of mind.”
- To temper (verb) can also mean to adjust or modulate.

Temperamental Chocolate, Always Delicious
Chocolate, like all of us, can be temperamental — it can be moody, impulsive, sensitive, and hard to work with. But now that you know the basics, you might be encouraged to try tempering at home. Be prepared for a bit of a mess. It’s hard to stay neat with melted chocolate around. And be ready to enjoy it no matter how it turns out. Perfectly tempered or not, when you’re creating something with chocolate, it’s always going to taste extra specially good!